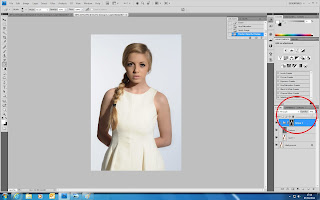
Open image.
Create a new Layer – CTRL+J (named Layer 1).
Create a new Group – CTRL+G (Group 1).
Highlight Layer 1 then Filter>Blur>Surface Blur.
I used Radius - 37 and Threshold - 20 for this image.
On Layer 1 add new layer – Shift+CTRL+N (call it “texture”).
Right click on Texture, Blending options.
Change it to Hard Light.
On Texture – Shift+F5 – Fill should be 50% Gray.
Use Eyedropper to get sample of skin.
On the right side slider, make sure HSB is shown.
Use CTRL+U – Saturation/Hue settings: Hue 18, Saturation 26, Lightness 34.
Highlight Group Airbrush, then layer drop down menu – Layer>Layer Mask>Hide All.
Use Brush Tool to cover all skin areas and entire face including eyes, mouth and nose.
Use Eraser Tool to clear out the eyes, eyebrows and mouth.
Highlight Texture Layer then use CTRL+U and enter: Hue 9, Saturation -45, Lightness -21.
Still on Texture Layer, go to drop down menu image then select apply image.
Change channel from RGB to Red.

Highlight group and change opacity to show texture of skin.
Finished image.
Jade


No comments:
Post a Comment